
Comprehensive Blackjack Basic Strategy: Charts for Common Rule Sets and How to Use Them
Comprehensive Blackjack Basic Strategy: Charts for Common Rule Sets and How to Use Them
There is no single universal blackjack basic strategy chart. The correct decision depends on your hand, the dealer’s upcard, the number of decks and the table rules. A chart for a six-deck game in which the dealer stands on soft 17 should not automatically be used for a single-deck game in which the dealer hits soft 17.
Basic strategy is a decision system: for each player hand and dealer upcard, it identifies the mathematically strongest available action under stated assumptions. It does not predict the next card, remove the house edge or guarantee a winning hand. For the underlying concepts, see this introduction to basic strategy explained before using the reference tables below.
What determines the correct chart?
First classify the player hand as hard, soft or a pair. Then consider the dealer’s upcard, the number of decks and whether the dealer stands on soft 17 (S17) or hits it (H17). Other rules can also change individual cells, including the blackjack payout, whether doubling is allowed after splitting, double-down restrictions, resplitting limits and whether surrender is offered.
The charts in this guide use a common baseline: blackjack pays 3:2; the dealer checks for blackjack when required; doubling is allowed on any first two cards; doubling after splitting is allowed; pairs may be split up to four hands; and surrender is not included in the main tables. These assumptions must be checked against the actual table. A chart labelled only “basic strategy” is incomplete if its rule set is unknown.
How to read these blackjack basic strategy charts
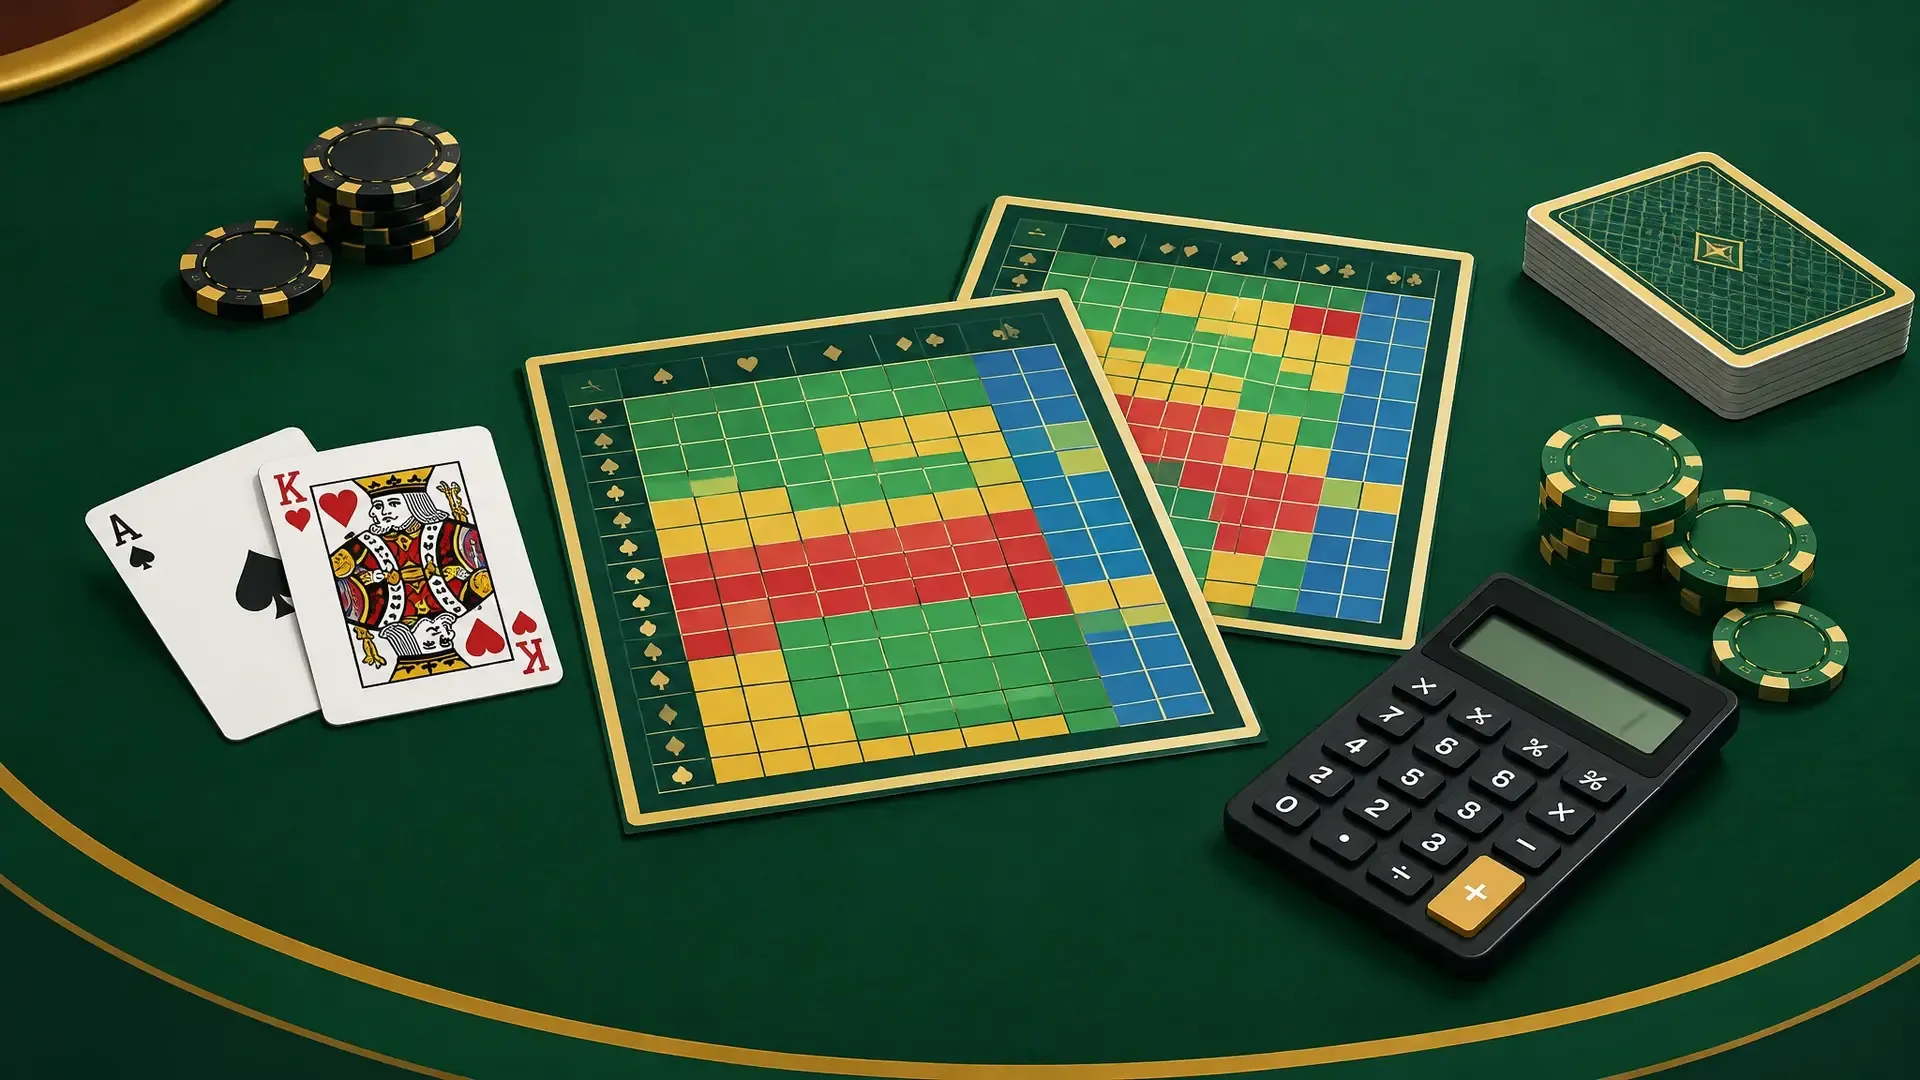
Use the player hand down the left side and the dealer upcard across the top. “H” means hit, “S” means stand, “D” means double down if permitted and otherwise hit, and “P” means split if permitted. A dash or a combined dealer range means the same action applies throughout that range. “D/S,” where used by a validated chart, means double if allowed and otherwise stand.
A hard total has no ace counted as 11 without making the hand exceed 21. A soft total contains an ace counted as 11, such as A-6, which is soft 17. A pair must be checked in the pairs section before treating its cards as an ordinary total. If a pair is not split, the resulting hand may then be played according to the hard or soft section.
Compact chart for common rule sets
The following text-based tables are designed to remain readable on screen and in print. Dealer columns group upcards with the same recommendation. They are a compact reference rather than a substitute for a rule-specific calculator, particularly where surrender or unusual doubling rules apply.
Hard totals
*For hard 9, single-deck play commonly doubles against 2–6, while the six-deck baseline doubles against 3–6. †With S17, hard 11 is commonly doubled against every dealer upcard under this baseline. With H17, the ace exception is commonly hit rather than doubled. These are precisely the kinds of cells that require the chart’s deck and soft-17 labels.
Soft totals
Pairs
These compact tables intentionally show the most common baseline cells. A full printable version should retain the same labels, state the assumptions in its heading and include a text equivalent rather than relying on colour alone. For accessibility, use strong contrast, large enough type, clear row and column headings and a print layout that does not split a decision row across pages.
S17 versus H17
Soft 17 is a hand such as A-6. Under S17, the dealer stands; under H17, the dealer takes another card. H17 is generally less favourable to the player, and it changes some optimal player decisions. In the examples above, hard 11 against an ace and soft A-7 illustrate why the dealer’s soft-17 policy must be visible on the chart.
Do not switch between S17 and H17 charts because the difference appears small. The recommendation is calculated for the complete rule set, not for an isolated hand. When a table’s placard or rules are unclear, ask before playing or choose a chart whose assumptions you can verify.
Single deck versus six decks
Deck count can alter strategy, but it is not the only variable. The compact chart shows a familiar single-deck versus six-deck difference for hard 9 and A-7 under the stated assumptions. Other cells can change when doubling after splits, surrender, resplitting, blackjack payout or other restrictions change. This is why “single deck” alone is not enough information to identify a complete chart.
For context, strategy tells you which action has the best mathematical expectation for the hand; it does not tell you how likely a particular outcome is on one deal. A separate guide to blackjack odds and probabilities can help distinguish decision quality from short-term results.
Three worked lookups
Hard hand: Suppose the six-deck S17 baseline gives you 16 against a dealer 6. Find “13–16” in the hard-total table and move to the 4–6 column: the recommendation is stand. Against a dealer 10, the same row points to hit. The player total did not change; the dealer’s upcard did.
Soft hand: With A-7 in a six-deck S17 game, the soft-total row says double against 3–6, stand against 2 and 7–8, and use the appropriate hit recommendation against stronger upcards. If doubling is not permitted in that situation, follow the chart’s fallback action rather than treating the double as available.
Pair: With 8-8 against any dealer upcard, consult the pair section first: split. Do not move straight to the hard-total row and play 16 as a hit or stand decision. Splitting changes one difficult hand into two separate starting hands, subject to the table’s splitting rules.
What each action means
To hit is to request another card. To stand is to take no further card. To double is to increase the wager according to the table’s rules and receive the permitted number of additional cards, commonly one. To split is to separate a pair into two hands, usually requiring an additional wager. Surrender, where offered, ends the hand early for a partial loss and can be correct in selected situations; it is not included in the baseline tables above.
Restrictions matter. A table may limit doubling to certain totals, prohibit doubling after a split, restrict resplitting aces or allow only one card on a split ace. If the recommended action is unavailable, use the chart’s stated fallback or a version built for those restrictions. Never assume that a chart for one casino’s rules applies unchanged elsewhere.
Basic strategy is not a betting system
Basic strategy governs playing decisions. It is different from card counting, betting progressions, loss-chasing and bankroll advice. It cannot guarantee profit or remove variance. If you choose to play, set limits in advance, avoid chasing losses and use a session plan that fits your circumstances; this overview of bankroll and session planning is a useful separate topic.
Final checklist before using a chart
Identify the number of decks, S17 or H17 policy, blackjack payout, doubling restrictions, split and resplit rules, and surrender availability. Then select a chart with those assumptions printed clearly and use the same chart consistently. A printable or downloadable version is most useful when it preserves the legend, rule label and accessible text alternative. Finally, verify every cell against a reputable rule-specific calculator before publication or serious use, because one incorrect cell can undermine an otherwise careful reference.
Matching the chart to the table is the essential step. Used that way, basic strategy is a disciplined reference for blackjack decisions—not a promise about the result of any individual hand.
Gambling is for adults aged 18+ only (or older where local law requires). Play responsibly: set a budget and time limit in advance, treat gambling as entertainment rather than a way to make money, and contact a local support organisation if gambling stops being fun.